Fusion 360 Orientation
Brief Description
Downloading the free 3D modelling software, Fusion 360, and giving you basic overview of how to use it.
Apparatus Needed
- Laptop
Step by Step Tutorial
- The first thing you need to do is download Fusion 360 for personal use form this link: here. The download process is pretty self explanatory and the only annoying part is actually making Autodesk account in the first place. Make sure your PC/laptop has the specs to run Fusion though as if its too slow, it'll be rather difficult to experiment and prototype a lot.
- You can watch the video below if you want a more visual representation but here's a quick overview on the basic things you need to know.
- To make a new model, click on File > New Design
- You can use the cube on the top right to orient your point of view and click on the edges, vertices, and faces to align yourself directly to a preset POV.
- What you see on the main screen is the XY plane. To get started with making something, click sketch and start drawing shapes and lines.
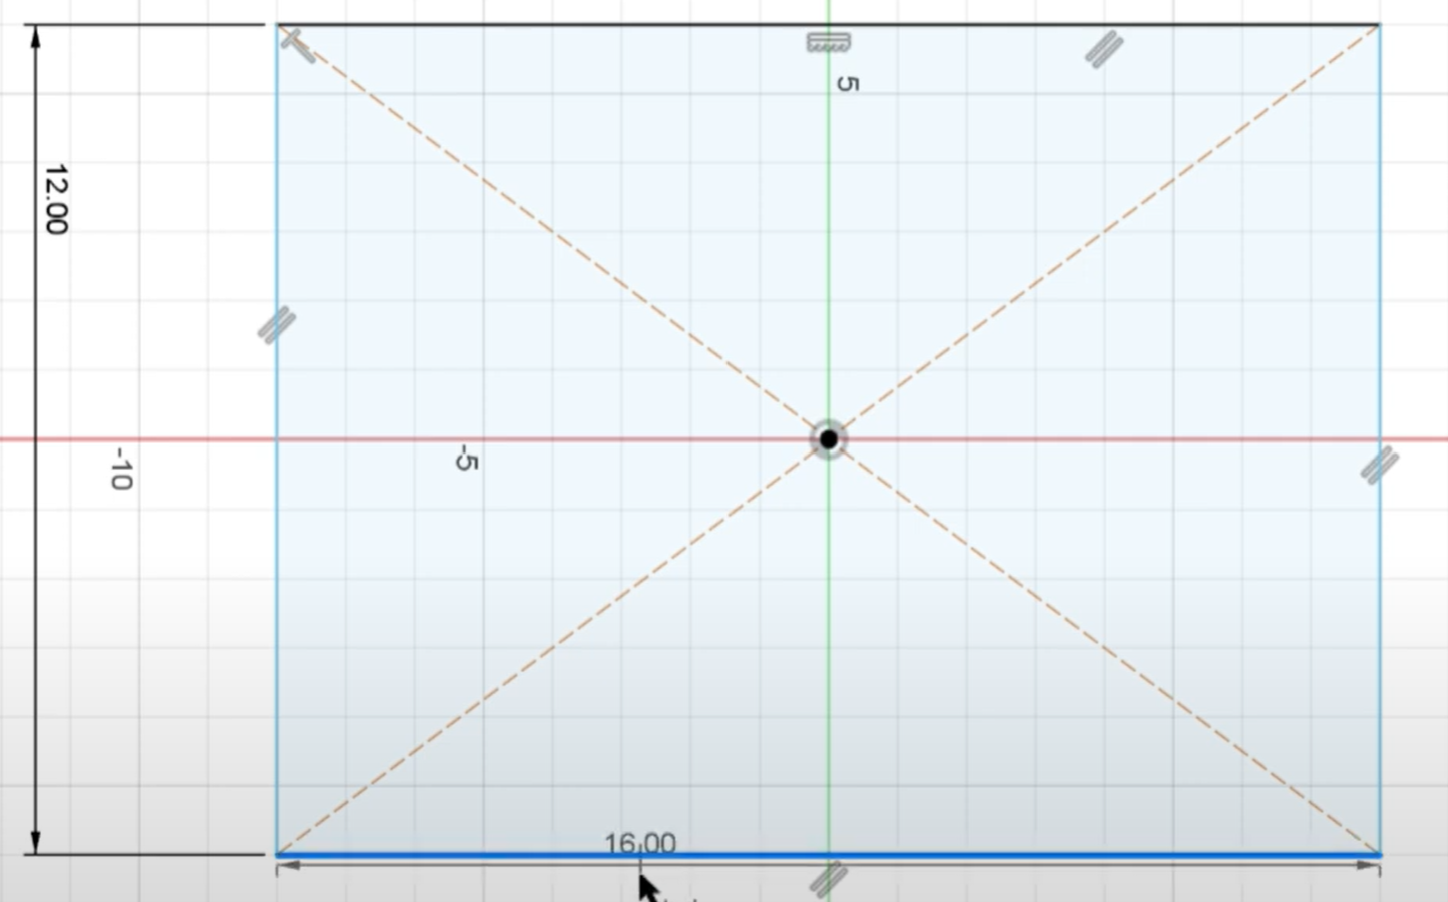
- Let's start by sketching a rectangle, click Create > Rectangle > Center Rectangle. Make an arbitrarily sized rectangle.
- Use the dimensions tool in the Create toolbar to set dimensions for the side of a rectangle and easily modify it.
- Once you're done with sketching the base, end the sketch.
- Now click on the extrude tool, then click the face of the rectangle you drew. An arrow will pop up. You can drag this arrow upwards to make the rectangle 3D with a specific depth.
- We can even make sketches on the face of this new cuboid. Use the orientation cube to orient yourself to a side and click on create sketch and select the face of the cuboid.
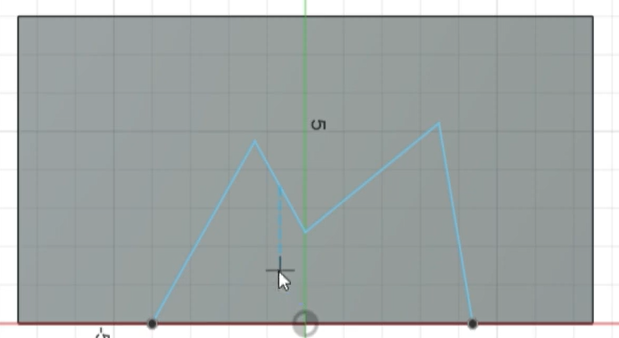
- Draw a triangle using the line tool on the face whilst making sure at least one side is connected to the bottom of the face.
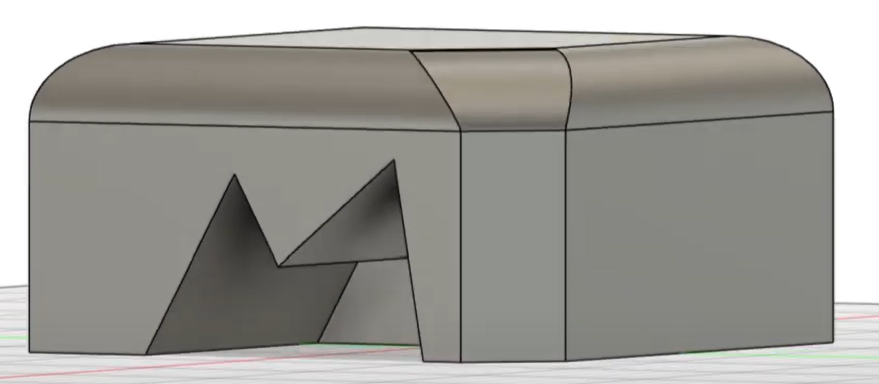
- End the sketch and begin extruding again however this time we will extrude backwards into the cuboid. This will create a cut/gap with the cross section of the triangle you drew on the cuboid .
- If you don't want the edges to be so sharp, all you need to do is select an edge and click the fillet tool in the Modify toolbar. Once again an arrow will pop up that you can push into the edge to make it more curved.
- We can also make a more angular chop off rather than a curved one by simply using the chamfer tool instead.
- You can put the body aside or at least hide it by clicking on the eye icon in the bodies folder on the left which will make it disappear. To bring it back just click the eye icon again.
- Let's hide the cuboid for now and make a different body.
- Start another sketch on the XY plane and this time make a Circle from the Create toolbar. Draw a straight line on the diameter of this circle to split into two semi circles.
- Then select any one semicircle and use the revolve tool in the Create section to make a sphere by selecting the diameter as the axis of revolution.
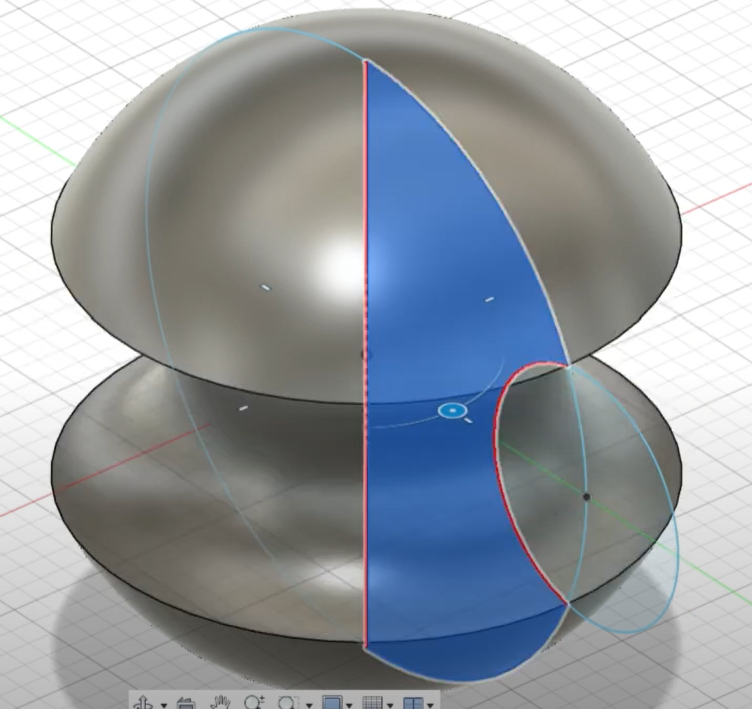
- Double click on the sphere to edit its sketch. Draw any shape that intersects with the semicircle on two points.
- Then go in the timeline on the bottom left and reselect the revolve function, except this time deselect the part enclosed by the new shape. This will make a cut out which is rotated across in the sphere!


