Build a Box in Fusion 360
Brief Description
Your first Fusion project: learn how to make a box!
Apparatus Needed
- Laptop
Step by Step Tutorial
- Create a rectangle sketch and extrude it to make a cuboid.
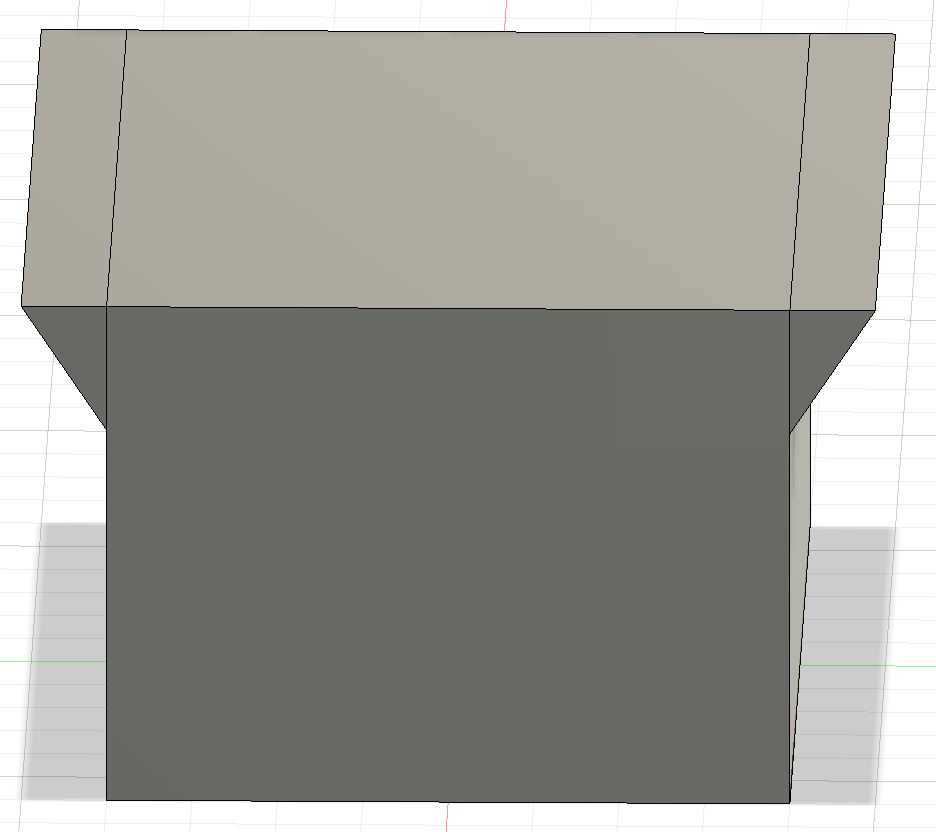
- Now we'll make the outer 'wings' of the box to slide a lid on. Create a sketch on the XZ plane and make draw a right triangle where the cornering angle is above 55 degrees (to minimise 3D printing material wasted in creating scaffolding).
- Extrude this triangle on both sides such that it covers the entire length of the box. Make sure to select the new component option when extruding (this is so that we can use the Shell function more easily later on.)
- Select the mirror option in the Create toolbar and select both the previous two extrusions from the timeline. Hide the body using the menu on the left hand side and click on the plane to mirror it against so opposite sides have 'wings'.
- Now select the top face of the box (not including the wings) and extrude it whilst selecting new component again to create the lid. Extrude the lid on either side so that it stretches over the wings and has an overhang of about 5mm.
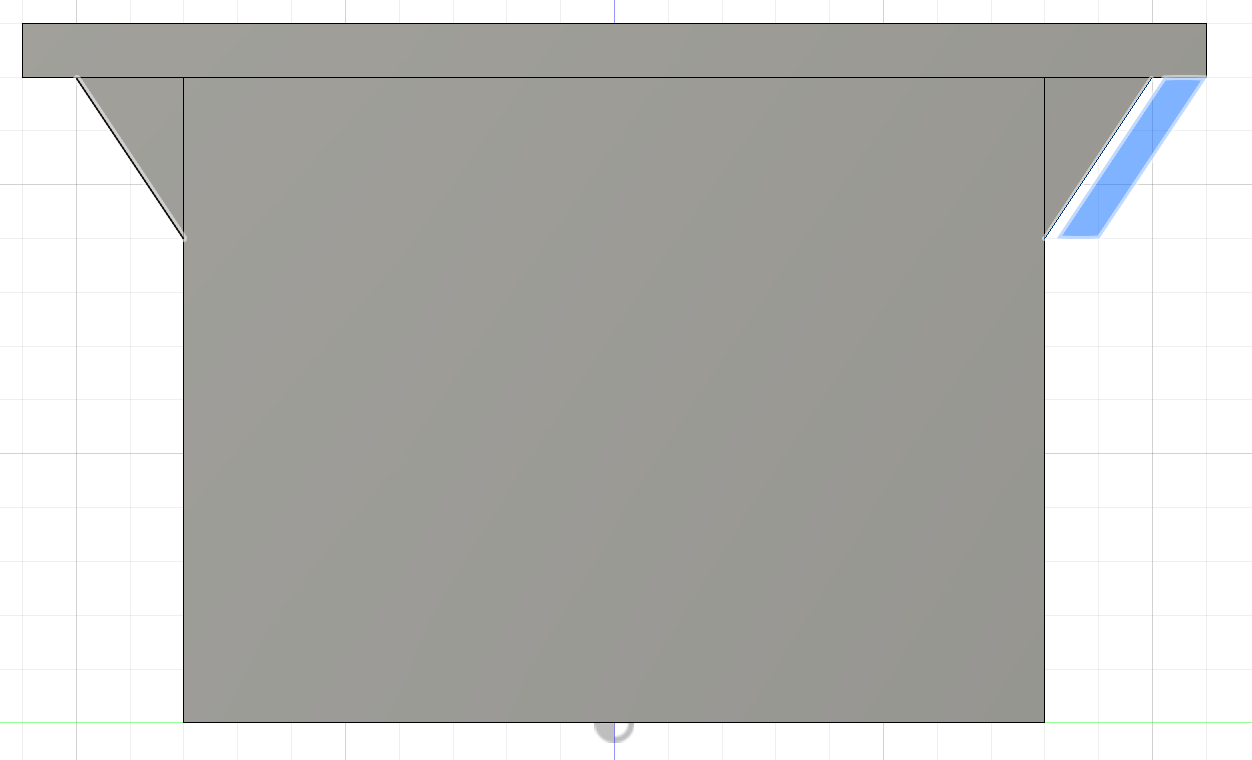
- Draw a very rough parallelogram such that it covers hanging from the overhang such that it seems parallel to the wings. Now use the parallel tool to make the 3 lines (wing hypotenuse, inner lid edge, outer lid edge) parallel with each other. Alter the new shape such that it sits flush with the lid.
- Extrude on both sides once again and mirror.
- Hide the lid component.
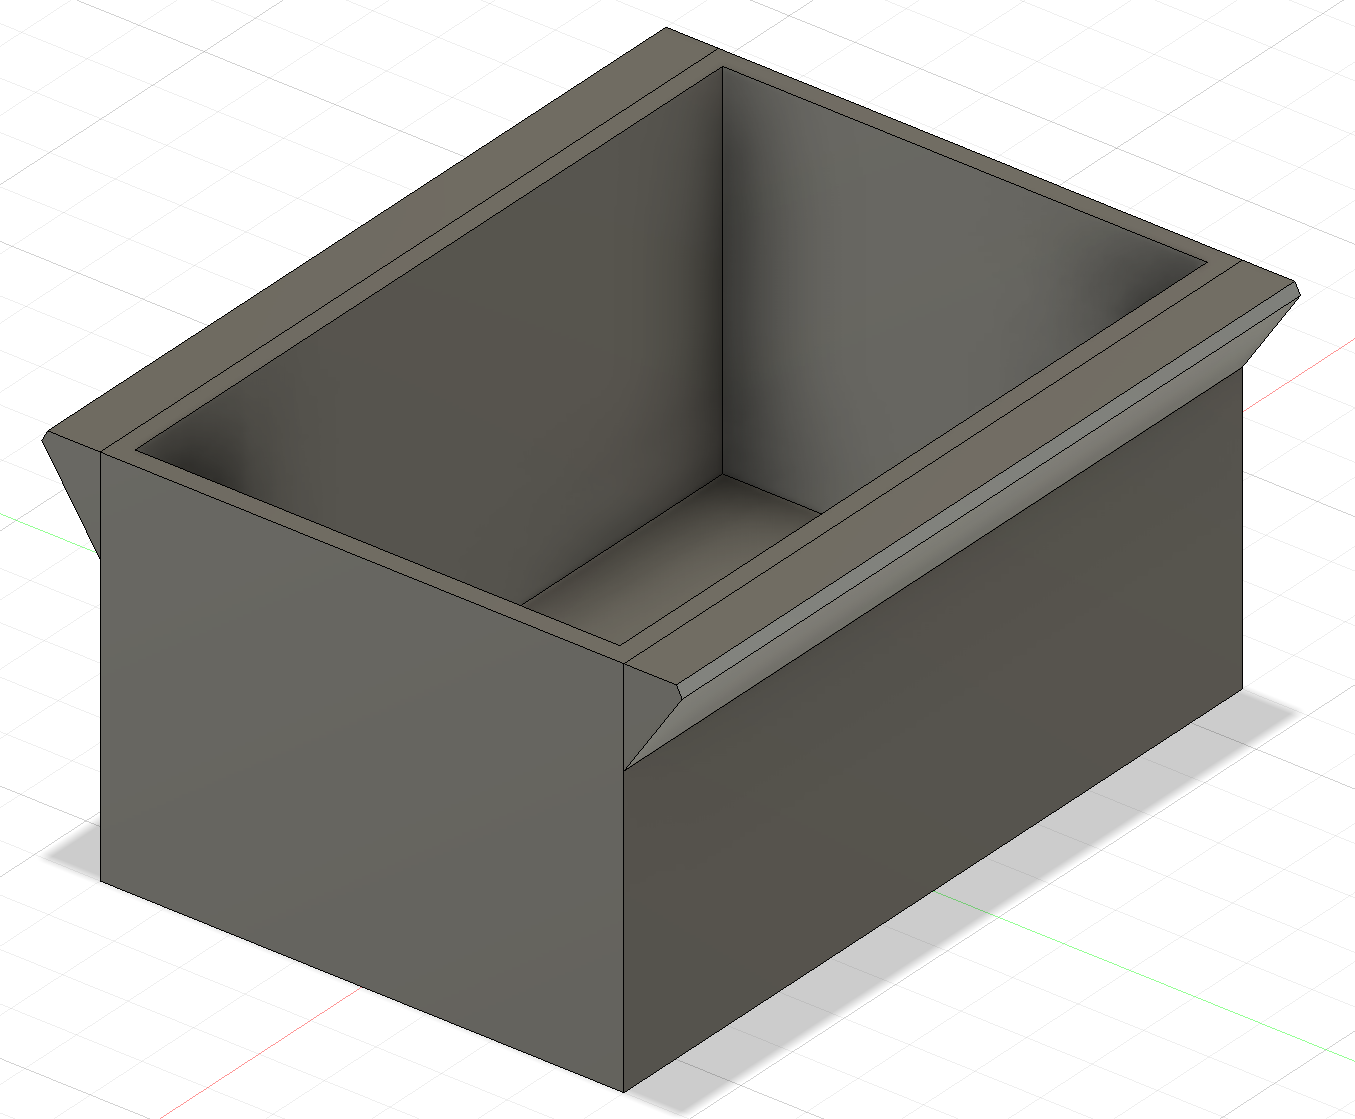
- Select the top face of the box to hollow it out and use the Shell tool to select the thickness of the box and automatically hollow it out.
- Fillet or chamfer the edges as you please for aesthetics but other wise we're done!


